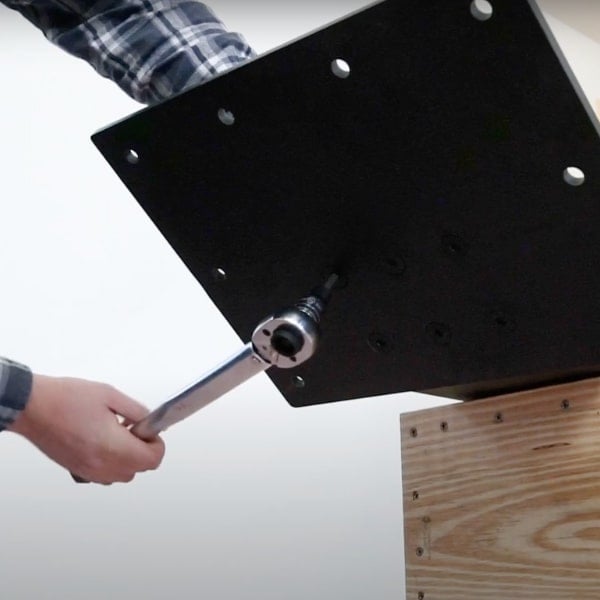
Installing custom floating stairs has never been easier! With precision-crafted materials and step-by-step instructions, we empower you to assemble your FLIGHT system—no special skills or delays required.
Get a personalized, step-by-step manual designed exclusively for your installation needs.
Effortless assembly with just 2-3 people—ideal for streamlined teamwork.
Complete most installations in just 1-5 days with an efficient crew.
Ensure your subfloor and blocking are prepared to support your FLIGHT system for a smooth and hassle-free installation.
Your FLIGHT system arrives in numbered boxes, corresponding perfectly to your 2D drawing, making it easy to organize components before you begin.
We provide essentials like a torque wrench and bits, while you'll need tools such as a drill, level, and silicone sealant to complete the job.
Each FLIGHT system is uniquely designed, and installation may vary based on your chosen configuration. Here’s a quick overview of the key steps for setting up a straight FLIGHT Mono staircase:
Attach the plates to both ends of the stringer, following the exact tightening and torquing sequence provided in the installation instructions to ensure proper setup and stability.
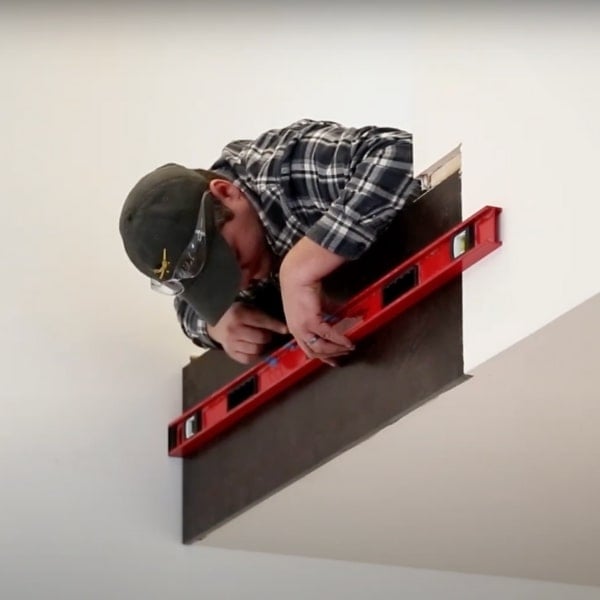
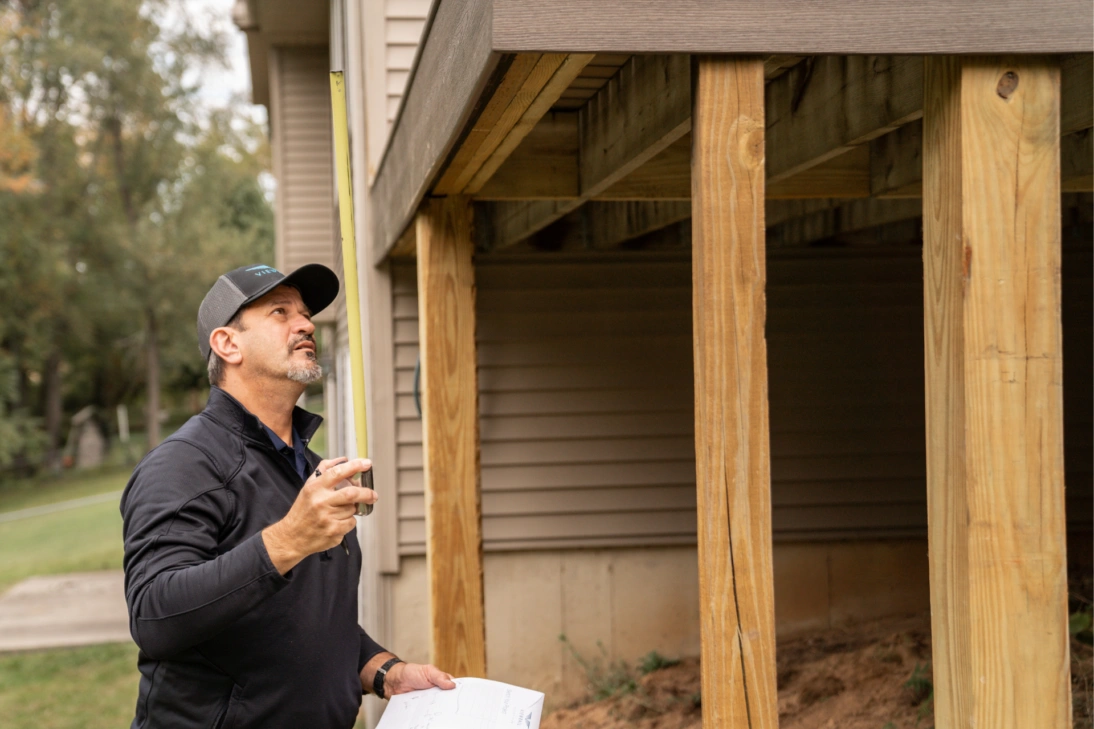
Use the measurements from the drawing we provide to accurately mark the position on the header where the header plate will be mounted, ensuring precise alignment during installation.
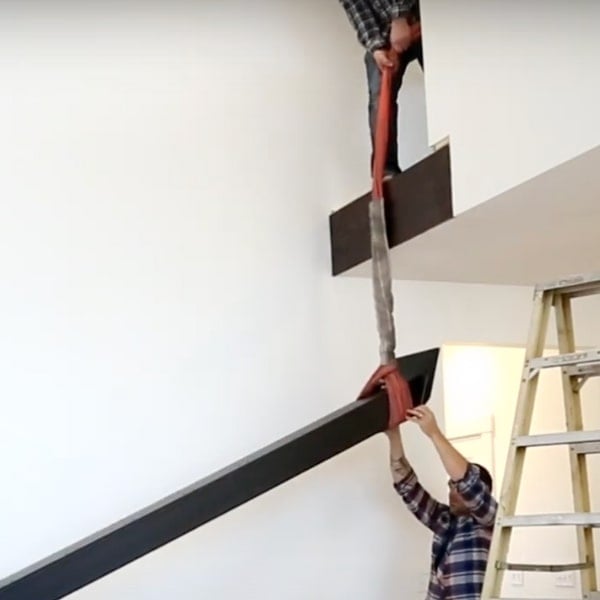
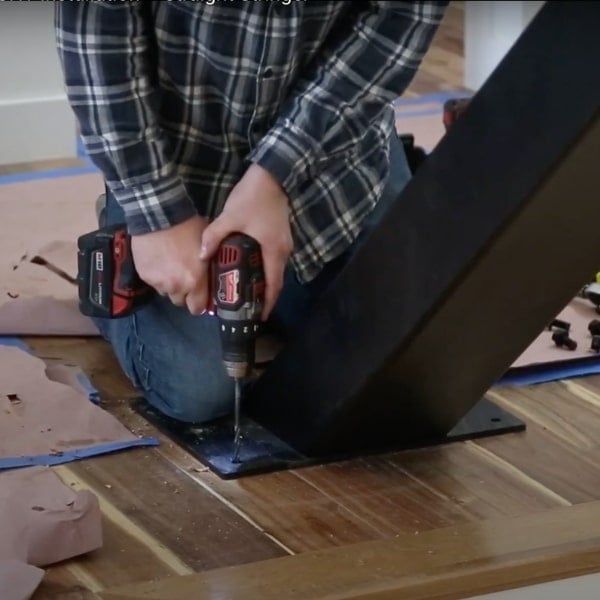
With the help of a winch, carefully lift the stringer into place, aligning it with the header marks. Secure it temporarily using a lag bolt to hold it in position.
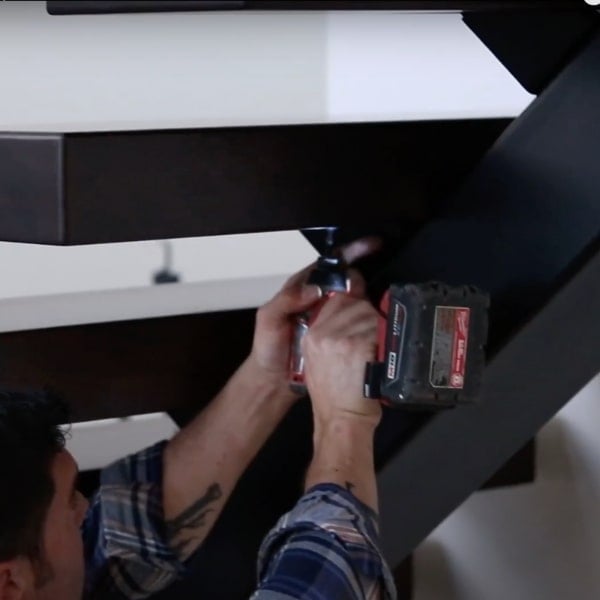
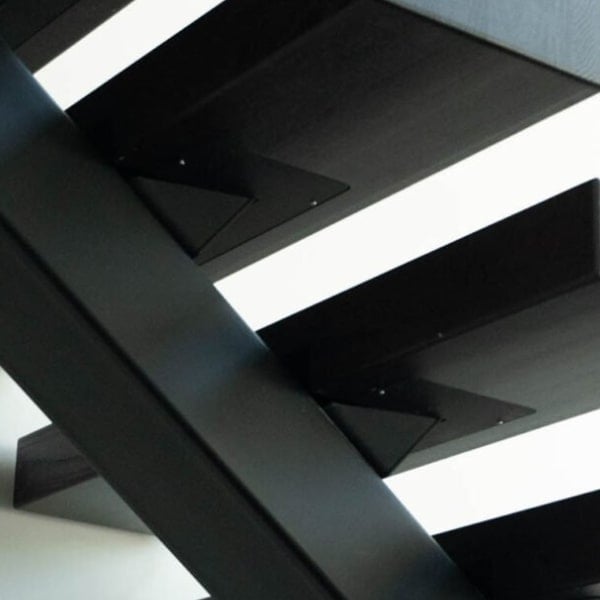
Install all tread brackets, ensuring proper attachment. The bottom tread requires a unique attachment method due to low clearance, which is detailed in the provided instructions for accuracy.
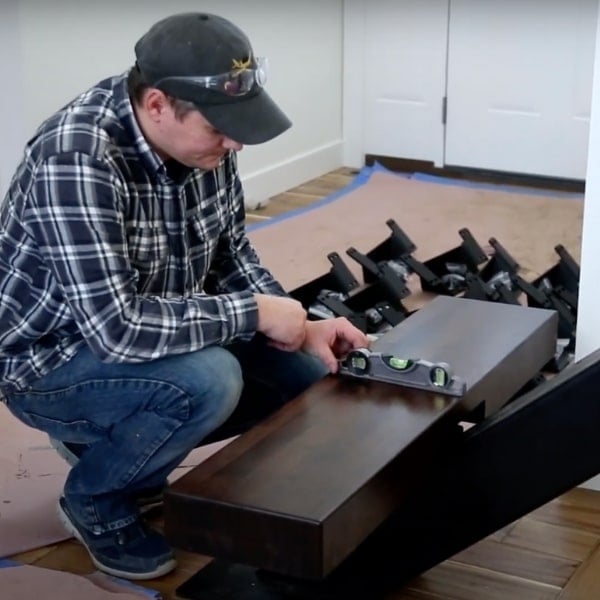
Place treads near the top and bottom, ensuring they are level and spaced evenly from the wall. Shim the stringer if necessary to achieve the correct level and alignment.
After leveling the treads and aligning the stringer, insert a second lag bolt into the header plate and secure all header and footer plate holes. Then, install the cover plates.
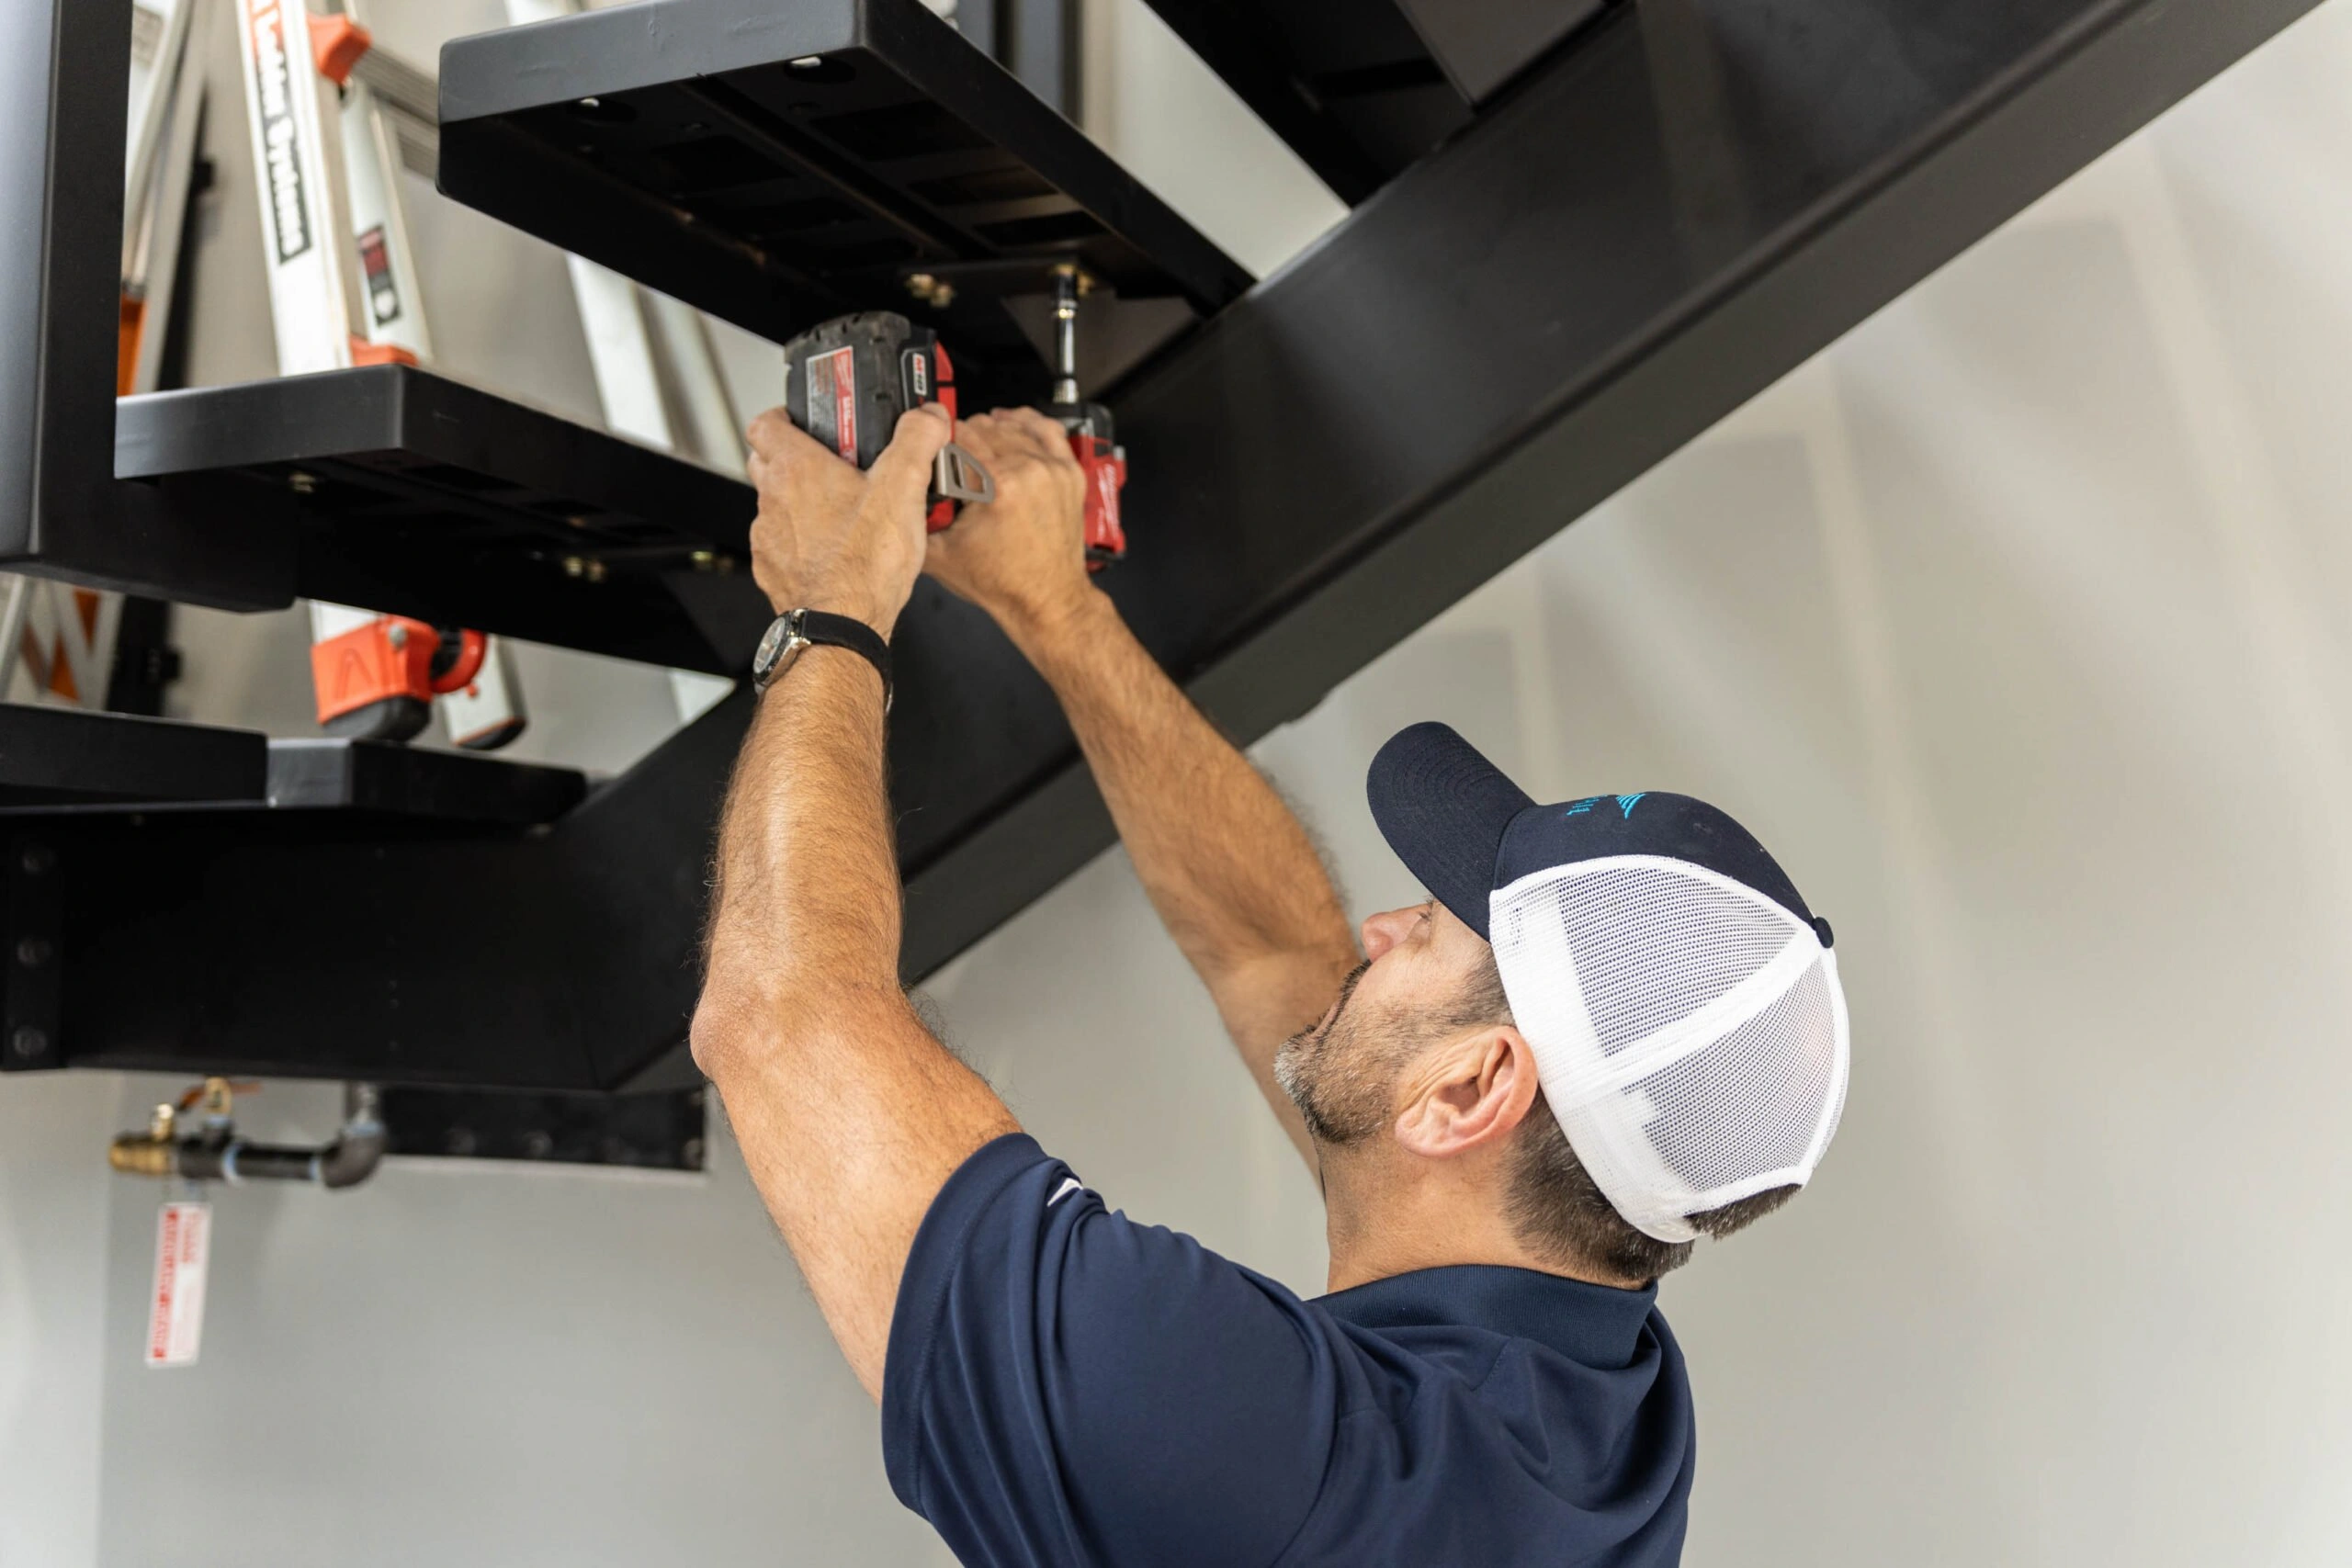
Using the supplied fasteners, install the remaining treads securely, ensuring they are tightly fixed to the stringer for a solid, stable staircase.
Place magnets on pre-installed screws and apply silicone around the treads. Then, install the covers in place, ensuring a snug fit for a clean, finished appearance.
Congratulations on completing your FLIGHT system! Now, let’s move on to the next steps to make your staircase truly shine.
Enhance your staircase with our signature railing systems. Visit our detailed guide to install them seamlessly, combining safety and style in your space.
To keep your system looking its best, use the included stainless steel cleaner on a microfiber cloth for cable railings. For glass railings, check out our maintenance and safety page for expert care instructions.
Looking for more details? Access the complete installation instructions for your FLIGHT system here, with step-by-step guidance for a smooth and successful setup.
Visit our Resources page for installation guides, visualizers, FAQs, videos, and additional tips to help you through every phase of your project with confidence.
No products in the cart.